1、背景介绍
之前一直是在树莓派上部署HomeAssistant服务,但是心里一直想要把HomeAssistant部署在一部手机上;
先说结论,最后肯定是成功在手机上部署了。
那么想在手机上部署主要原因有2:
-
第1,家里有没用的旧手机想利用起来; -
第2,手机自带屏幕携带也方便,所以就一直在网上查找教程。
经过一番资料查找以及自己摸索终于在我的老破旧手机上成功安装了目前最新的homeassistant=2024.08.1版本好像网上还没有找到安装过这个版本的;
那么以下就分享一下整个部署安装的过程;
2、介绍一下硬件-手机
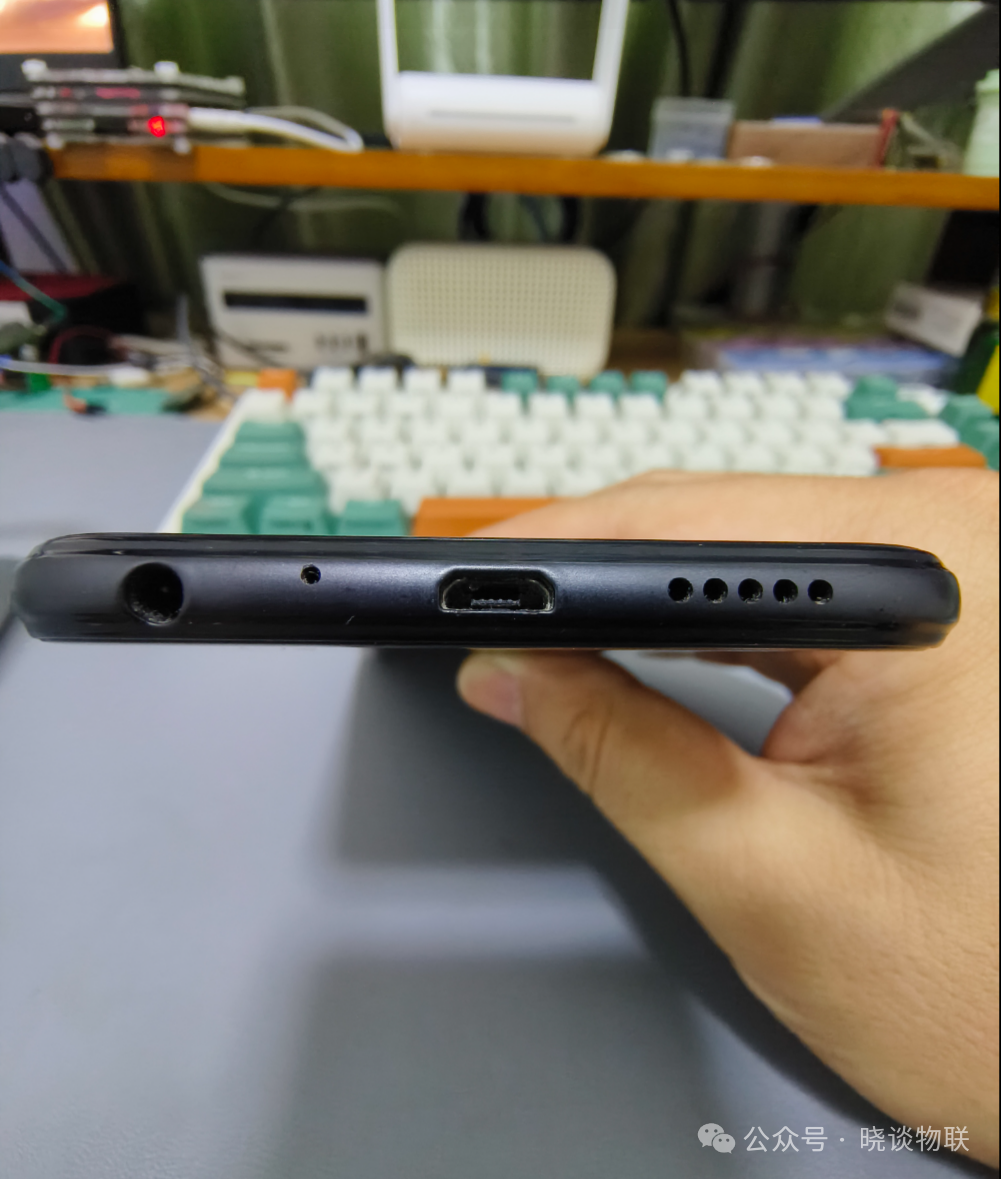
我使用的是一部荣耀的i9,这是一部2018年发布的手机,现在拿出来看感觉就是上一个时代的产物,有3.5的耳机接口,用的还是micro usb接口,
2.1、百度的介绍

2.2、设备外观看一看

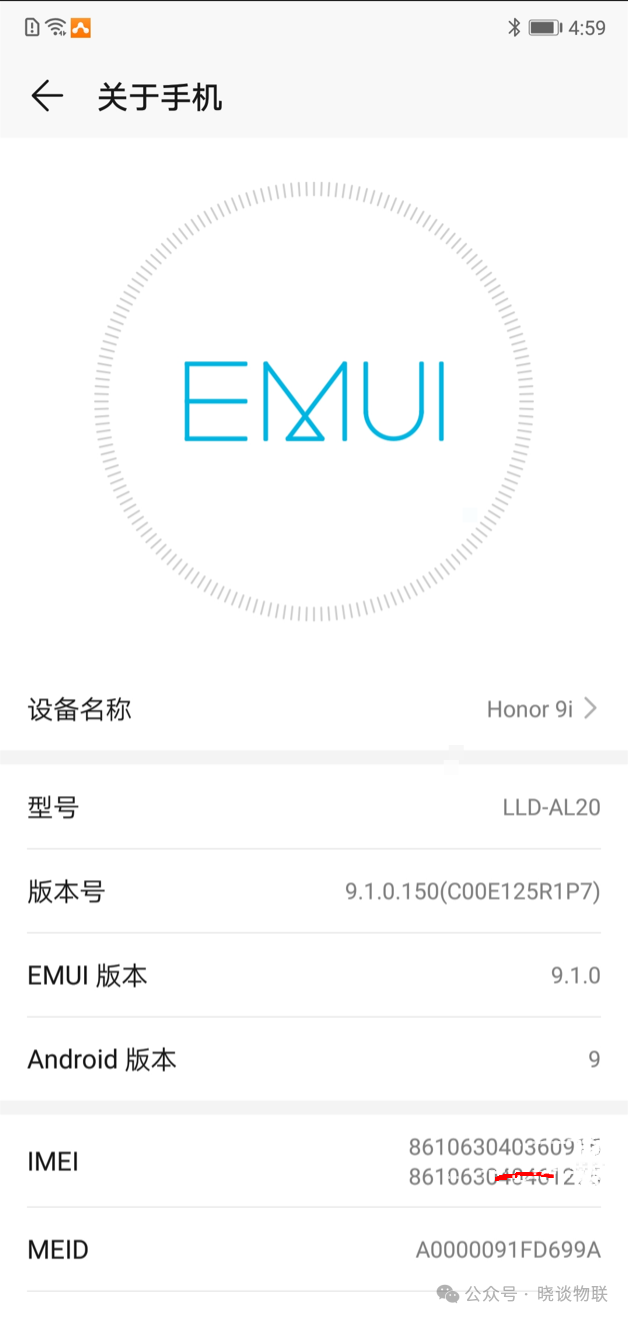
2.3、当前系统看一看
下面是当前手机的系统信息(Android版本还是9,目前大部分手机都到了Android14了)
3、部署HomeAssistant过程
整个过程分为三大步:
-
第1,安装Ubuntu系统;
-
第2,安装Python环境以及相关依赖;
-
第3,安装HomeAssistant-Core;
下面就展开说说
3.1、安装Ubuntu系统
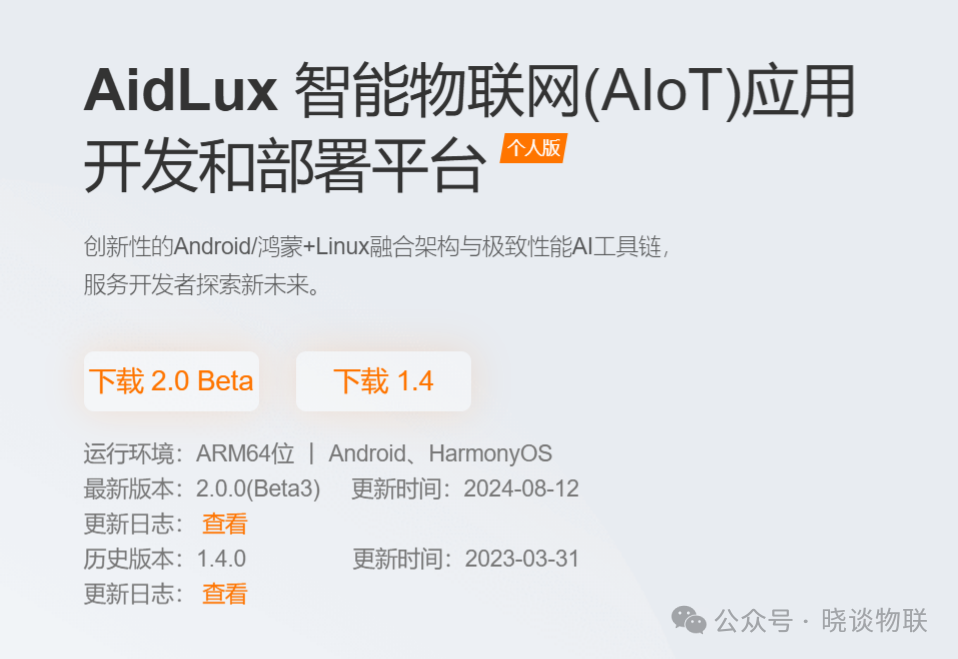
这里我们借助AidLux这个软件,最新的AidLux工具已经是使用了ubuntu20.04的OS了,刚好是符合我的需求,AidLux的解释如下图;
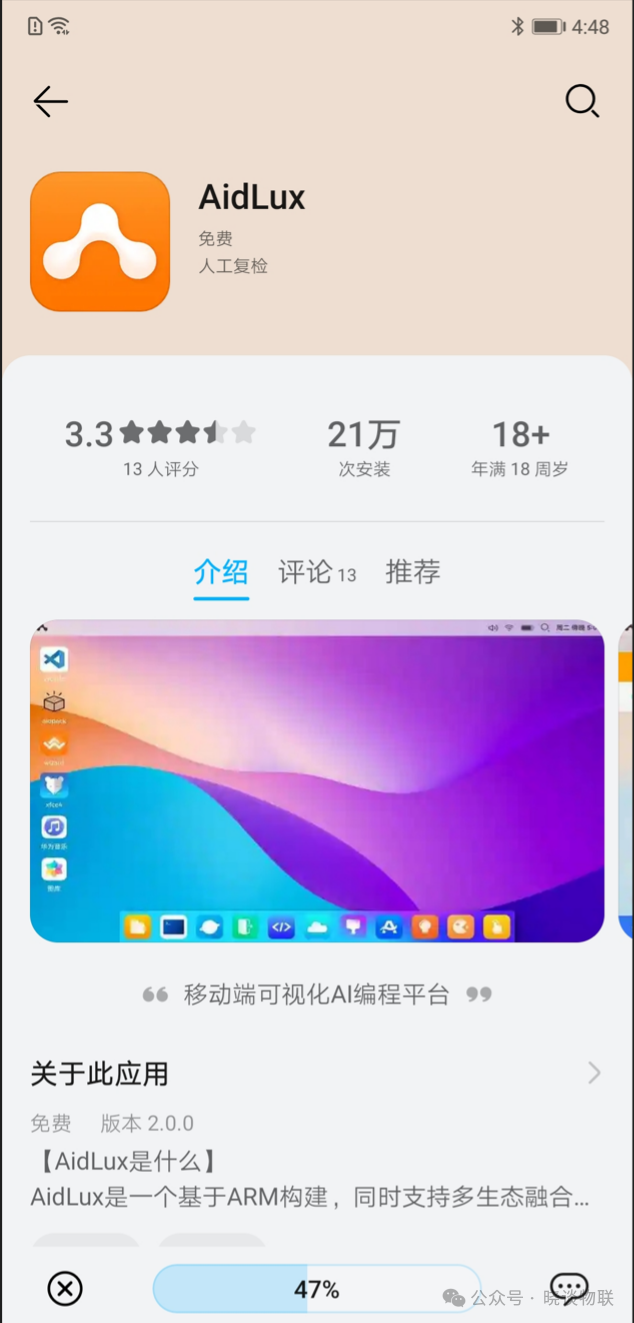
巧合的是在荣耀的应用商场居然就能搜索得到这个app,所以直接下载安装,流程也和正常的app安装一样,此次就略过软件的安装流程了;
第一次打开软件的时候我们跳过登录,然后我们进入等待初始过程即可:
软件安装成功之后,我们通过查看手机的IP,然后有3种方式进入到ubuntu系统,分别是直接在手机上打开app进入,通过web进入,通过ssh终端进入,密码:aidlux;
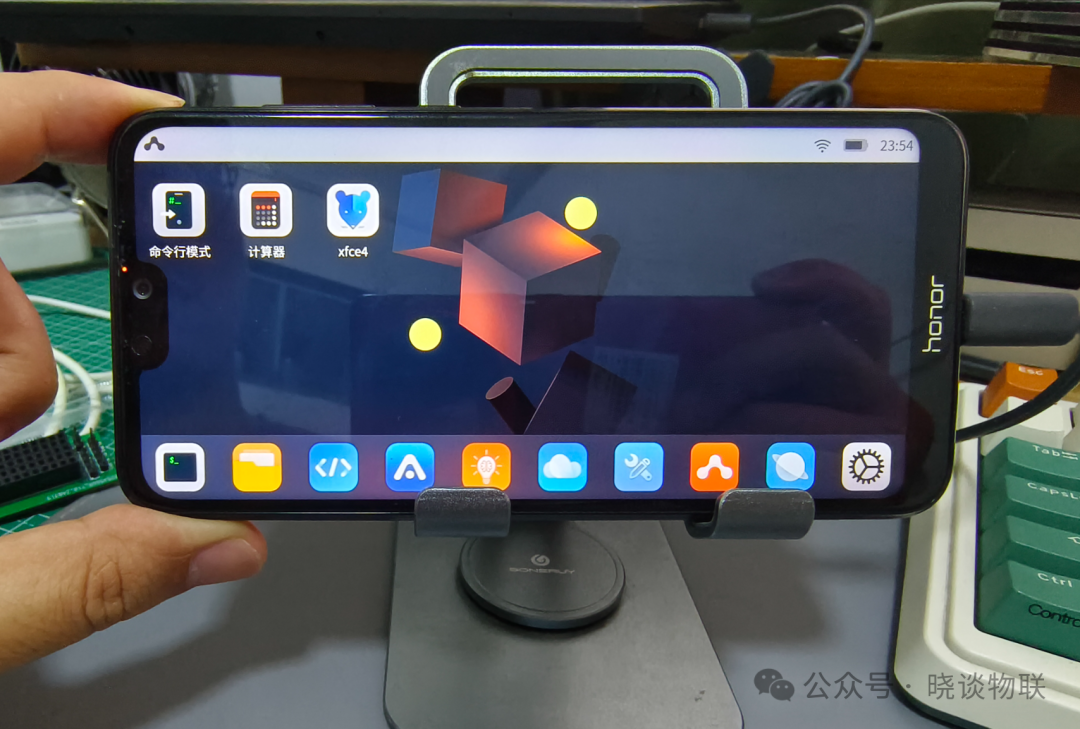
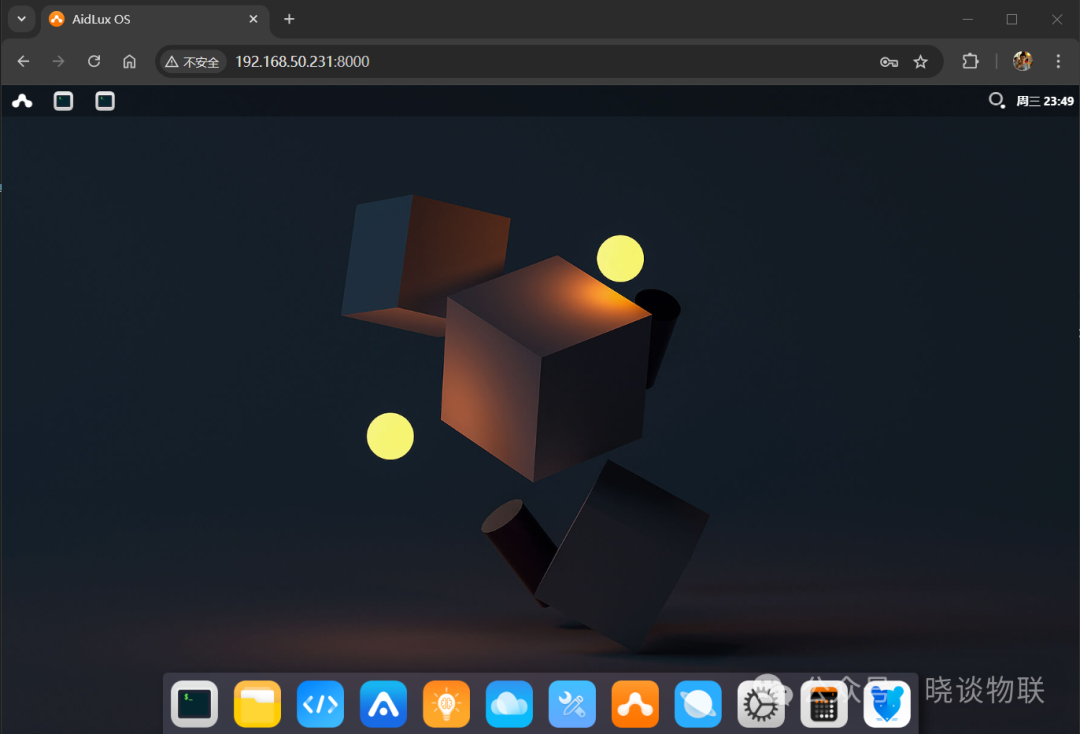
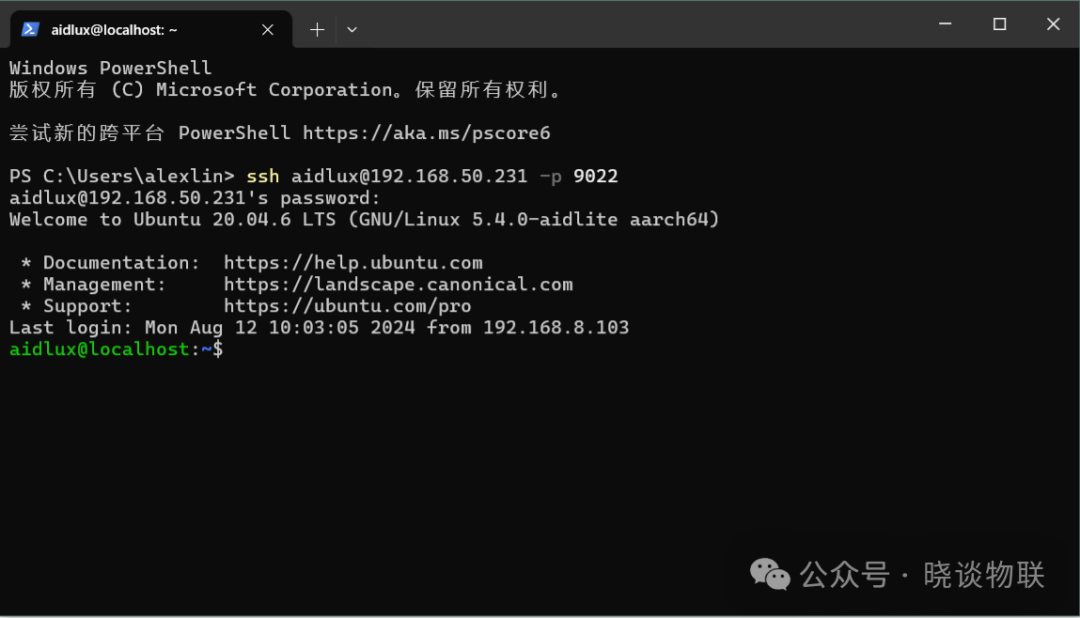
这里我选了通过SSH终端进入,习惯了哈~
3.2、Python环境安装
由于我们当前的系统是ubuntu20.04,默认的Python是3.8版本,而最新的Homeassistant版本需要的Python版本必须不小于Python3.12,于是我们要重新安装新版本;
具体步骤如下
-
更新apt
aidlux@localhost:~$ sudo apt-get update
aidlux@localhost:~$ sudo apt-get upgrade -y
-
安装目标版本
aidlux@localhost:~$ sudo apt install python3.12
-
安装一些常用依赖
aidlux@localhost:~$ sudo apt-cache policy python3.12-venv binfmt-support
aidlux@localhost:~$ sudo apt install  python3.12-venv binfmt-support
-
查看系统已经安装的版本
aidlux@localhost:~$ ls /usr/bin/python*
/usr/bin/python          /usr/bin/python3.11         /usr/bin/python3.8
/usr/bin/python3         /usr/bin/python3.12         /usr/bin/python3.8-config
/usr/bin/python3-config  /usr/bin/python3.12-config
-
对已经安装的版本优先级排序(数值越高优先级越高)
aidlux@localhost:~$ sudo update-alternatives --install /usr/bin/python python /usr/bin/python3 1
aidlux@localhost:~$ sudo update-alternatives --install /usr/bin/python python /usr/bin/python3.8 2
aidlux@localhost:~$ sudo update-alternatives --install /usr/bin/python python /usr/bin/python3.11 3
aidlux@localhost:~$ sudo update-alternatives --install /usr/bin/python python /usr/bin/python3.12 4
-
设置系统默认python 版本
aidlux@localhost:~$ sudo update-alternatives --config  python
There are 4 choices for the alternative python (providing /usr/bin/python).

  Selection    Path                 Priority   Status
------------------------------------------------------------
* 0            /usr/bin/python3.12   4         auto mode
  1            /usr/bin/python3      1         manual mode
  2            /usr/bin/python3.11   3         manual mode
  3            /usr/bin/python3.12   4         manual mode
  4            /usr/bin/python3.8    2         manual mode

Press <enter> to keep the current choice[*], or type selection number:
经过以上几步,我们已经把当前系统的Python版本设置为python3.12,接下来就是安装最新版本Homeassistant了
4、安装HomeAssistant Core
-
安装依赖
sudo apt-get install -y python3 python3-dev python3-venv python3-pip bluez libffi-dev libssl-dev libjpeg-dev zlib1g-dev autoconf build-essential libopenjp2-7 libtiff6 libturbojpeg0-dev tzdata ffmpeg liblapack3 liblapack-dev libatlas-base-dev
备注: 在我的系统中libtiff6 提示没找到,所以我安装了libtiff5 替换;
-
创建用户
sudo useradd -rm homeassistant
-
创建homeassistant 工作目录
sudo mkdir /srv/homeassistant
sudo chown homeassistant:homeassistant /srv/homeassistant
-
安装python虚拟环境&启用
aidlux@localhost:~$ sudo -u homeassistant -H -s
aidlux@localhost:~$ cd /srv/homeassistant
aidlux@localhost:~$ python -m venv .
aidlux@localhost:~$ source bin/activate
-
虚拟环境下安装python依赖
(homeassistant) homeassistant@localhost:/srv/homeassistant$ python -m pip install wheel
-
安装homeassistant core
这个过程网络起到关键作用,网络不好那就重试几次哈~
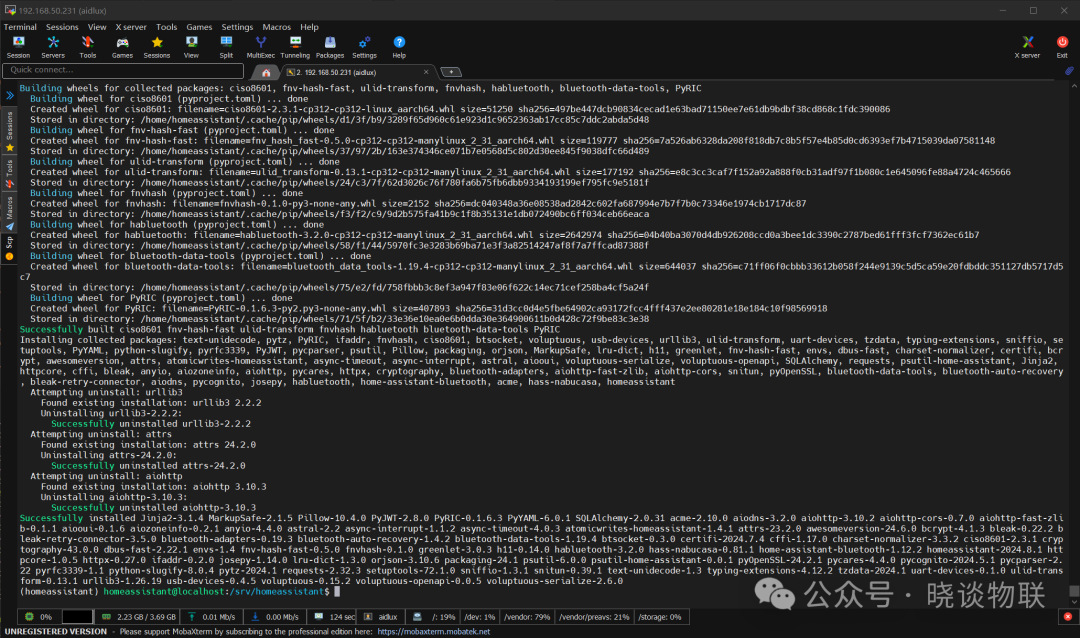
(homeassistant) homeassistant@localhost:/srv/homeassistant$ pip3 install homeassistant==2024.8.1
最后成功你会看到终端以下的日志
-
启动HomeAssistant
这个过程网络起到关键作用,网络不好那就会等很久
(homeassistant) homeassistant@localhost:/srv/homeassistant$ hass
在这个过程,我们可以在浏览器输入手机的htp://IP:8123刷新直到看到homeassistant的启动界面,然后按提示填写
注意:这个过程网络起到关键作用,网络不好那就会等很久,实在等太久就刷新下界面

5、验证工作
通过添加集成,然后控制设备验证正常工作。
我这里添加了路由器和小米的集成,把我账号下几个小米设备同步到HA上然后进行控制,最终验证可以正常控制设备;


6、总结
经过一番折腾,终于把目前最新版本的homeassistant==2024.8.1成功部署到一台比较老的手机上,然后我们也通过添加了小米的集成来验证是否可以正常控制小米的设备,最终的结果也是预期之中的可正常控制。


评论 |